Description
Description
No longer sold.
Replace Connect 10 with Henden (aka Dontek & Theralux) Aquatek here - comes standard with Wifi app control.
Note: For new pool builds, advise your pool builder he can contact any Reece Irrigation or Reece Pool store to purchase a Dontek/Henden/Theralux Controller, which communicates with almost all brands of heaters.
Archived Information:
This kit allowed almost any brand of gas heater or heat pump to be controlled by an Astralpool Connect 10 Pool & Spa control system. There are now better options.
Worked with all Raypak, Pentair, Hayward, Zodiac, Sensaheat, EvoHeat, Theralux, Reltech and most other pool or spa heaters utilising a flow or pressure switch.
Did NOT suit older Genus control systems
Archived Information:
Important Requirements:
- Connect 10 will need 1x unused 240V controlled Channel (eg: 2, 3, 4, 5, 6, 7,or 8)
- Temp Sensor will need to be in the cold water side in the same line as the heater. Eg: If temp sensor is in a separate Solar Suction Line, it will need to be moved to what ever line the heater is in. We recommend Solar to have a separate solar controller, as the temp sensor cannot be in the solar water line.
- Must be fitted by a Qualified person, experienced with Connect 10 controllers, as well as the heaters they're connecting to.
- Gas heaters can only be worked on or modified by a licensed Type A gas service person.
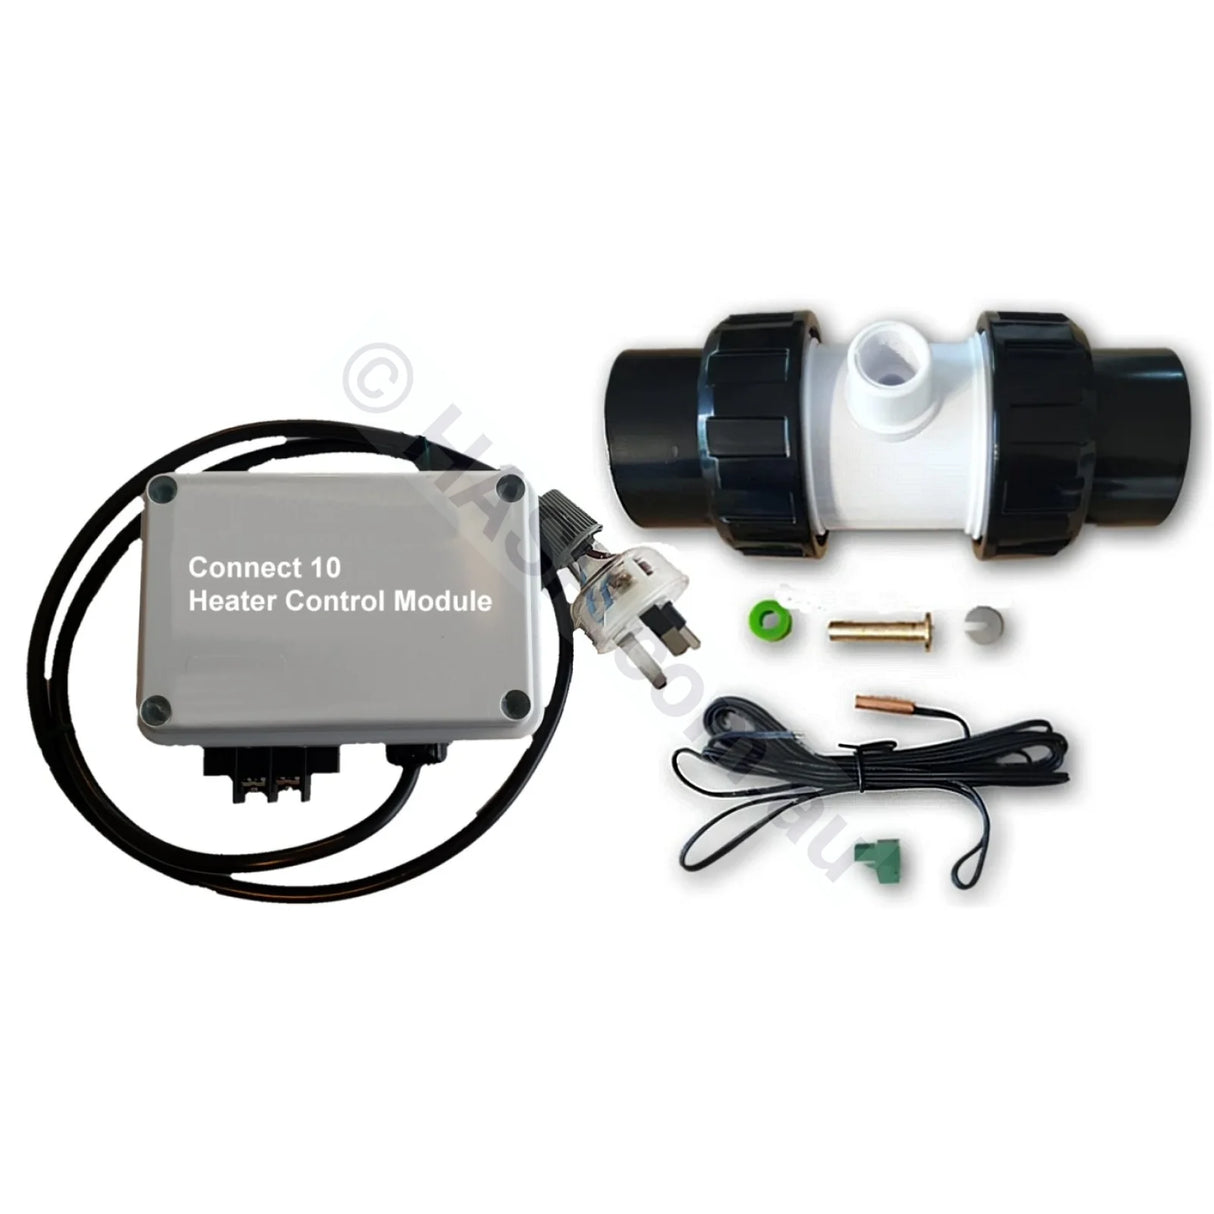
Complete Kit:
- Hybrid Heater Module w/ 3-pin Plug
- Temp Sensor Kit including Plumbing Fittings for Connect 10
- 3m 'Figure-8' Control Cable w/ Spade Terminals for Heater
- Part No: HUHC-01+520146_CK
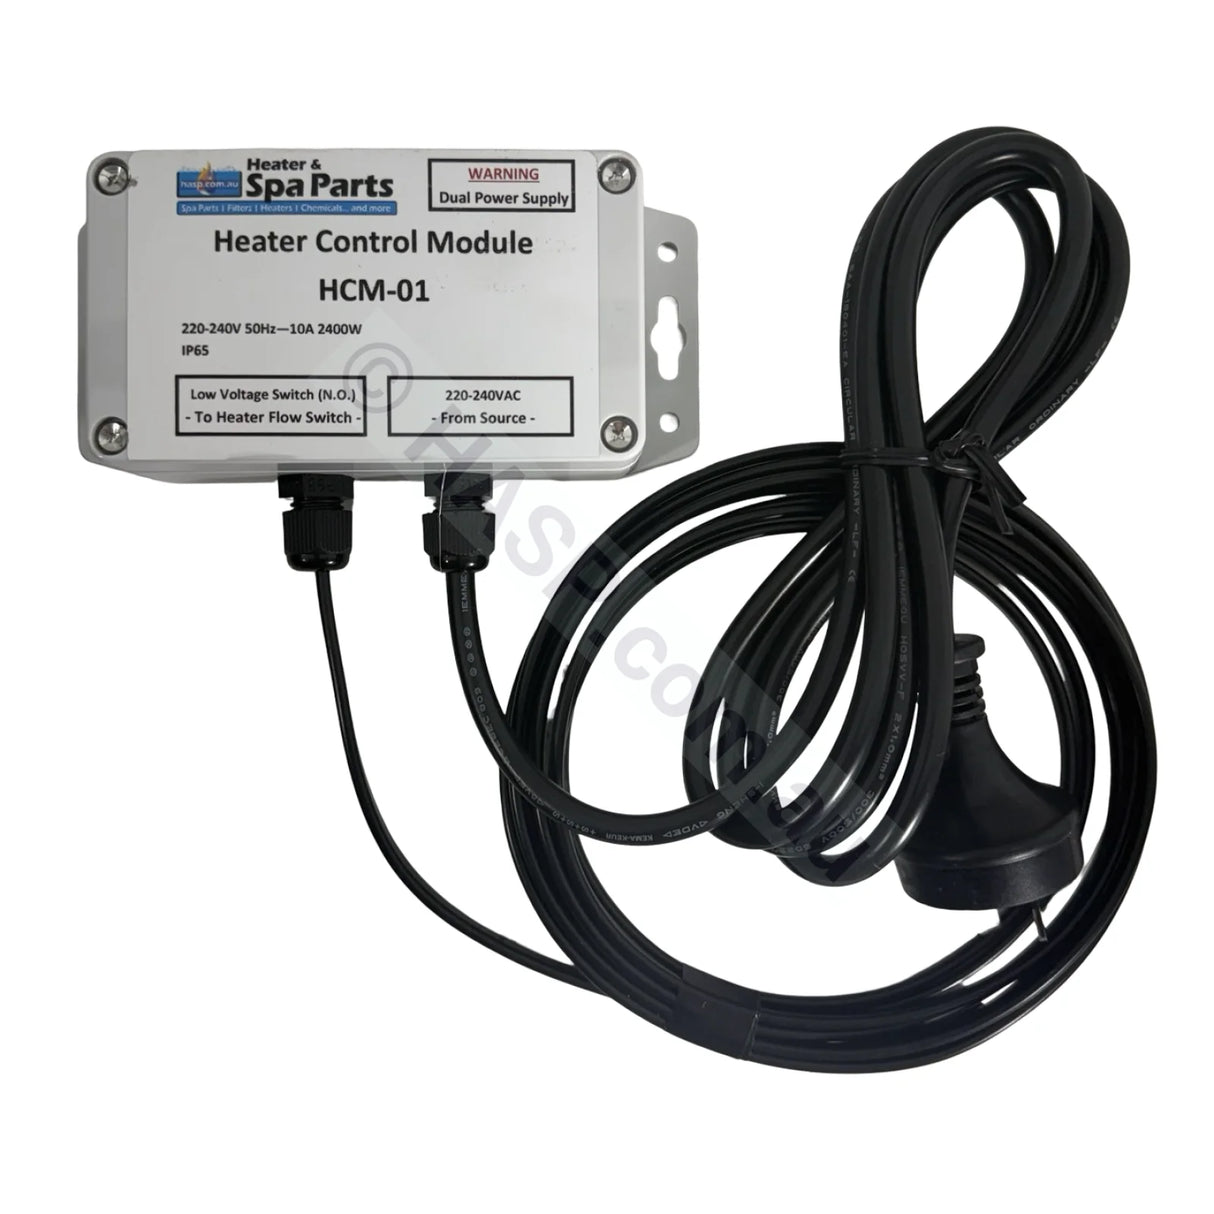
Standalone Kit:
- Hybrid Heater Module w/ 3-pin Plug
- Note, you *will* need a temperature sensor as per instructions below.
- This kit is typically used as a replacement, or where you already have an in-line water temperature sensor
- Part No: HUHC-01
--------------------------------------------------------------------------------
Connect 10 Setup:
Hardware:
- Fit temperature sensor kit inline, before the heater.
- Plug Temp Sensor into "Water Temperature Plug" in Connect 10
- In the Connect 10 "SYSTEM/LOCAL" jumper needs to be set to "Local"
- Run figure-8 cable to Gas Heater's pressure switch (Raypak, Pentair, etc) or to Heat Pump's Control connection. For gas heaters, simply unplug one spade terminal on pressure switch, plug one end of figure-8 wire to pressure switch, and then connect the other two loose wires together.
- Plug module into a controlled output on Connect 10 (usually Channel 8).
- Set Heater to ON and Maximum temperature (Connect 10 will control heater).
Software: Note: Connect 10 software versions have different menus, wordings, etc. so there may be some variations to the instructions below.
Setup 1:
- In the Connect 10, go to Installation Setup & Enter your PIN.
- In Setup, under Heater, go to Is a Genus Heater installed? Select No (unless you do also have an Astralpool heater).
- Under "Use Connect temperature sensing?" Select Yes.
- In the Channels setup select the Channel that will control power to this module. (Generally Channel 8).
Setup 2:
- In the Connect 10, go to Installation Setup & Enter your PIN.
- In Setup, under Heater, go to Temperature Control.
- Select Display and control (Genus and Connect Inbuilt), then click Next.
- Under Choose primary heater type: select your primary heater.
- Under Choose secondary heater type: select your secondary heater, then click Next.
- Click through the menu and make necessary changes, and name your heater/s.
- In the Channels setup select the Channel that will control power to this module. (Generally Channel 8).
Module:
- Plug in module to the assigned output Channel set above (usually Channel 8).
- Run Twin Cable low-voltage cable to wire heater in series with the gas/heat-pump heater's, pressure switch, flow switch or dedicated low-voltage switching circuit (fireman switch).
- Disconnect One Wire from Pressure/Flow Switch & then Connect this Wire to One end of the Twin Cable from the Module.
- Connect the remaining Wire from the Twin Cable onto the Pressure-Flow Switch.
You may need to consult with the heater manufacturer to find the best way to connect. Generally the flow switch or pressure switch is fine to 'tap' into.
This work must be done by a qualified, experienced person.

Warranty: 12-months Return-to-Base


