


Hydroair VSR Jet & Locking Ring - Retrofit - 127mm
Hydroair VSR Jet & Locking Ring - Retrofit - 127mm is backordered and will ship as soon as it is back in stock.

Hydroair VSR Jet & Locking Ring - Retrofit - 127mm
Description
Description
127mm Hydroair Balboa adjustable VSR jet barrel roto - smooth - grey. Retrofit Kit includes retrofit lock ring. :ock ring is glued into older style jet body to accomodate new style jet barrels.
Note the different locking mechanism for far superior jet barrel retention.
Old style jet barrels have 2 small rectangular lugs that easily snap off.
127mm diameter
Installation Instructions Adjustable VSR Retrofit Kit
Click here for PDF instructions with photos.
Material and tools required:
- PVC Glue and applicator (not included in the kit)
- A cloth rag (not included in the kit)
Instructions:
- 1. Drain the water level below the jet being worked on from the SPA. See Picture 1
- 2. Turn off all the electrical power to the SPA. Ensure that heater and water pump are turned off.
- 3. Remove the handle assembly from the existing jet body by rotating the handle clockwise. Some force may be needed to remove the handle due to water salt build up.
- 4. Clean and dry inside wall of the existing jet body as illustrated in Picture 2.
- 5. Apply PVC glue with applicator in the jet body area as illustrated in Picture 3.
- 6. Orient the tab of the retrofit retaining ring towards the jet such that the tab will insert on the inside wall slot of the jet body as illustrated in Picture 4 .
- 7. Slide the ring all the way down ensuring that there is no gap between the ring and the shoulder. 8. Clean up any excess glue from the jet body. 9. Hold the ring with some pressure for few seconds until PVC glue has bonded the ring with the jet body as illustrated in Pictures 5a & 5b.
- 10. Insert the new handle and nozzle assembly into the jet body. 11. Rotate the new handle assembly counter clockwise ensuring that the tab on the bottom of the handle is lined up with the slot on the face of the jet body. You may need to apply some force to engage locking mechanism. See Pictures 6a & 6b.
- 12. Gently rotate the handle from right to left and then from left to right to ensure that it opens and closes freely. 13. Turn on all electrical power to the SPA including water pump and heater. 14. Fill the SPA with water. 15. Gently rotate the handle from right to left and then from left to right to ensure that it works properly.
Payment & Security
Payment methods
Your payment information is processed securely. We do not store credit card details nor have access to your credit card information. Major Credit Cards, PayPal, ApplePay, GooglePay accepted.
-
![]()
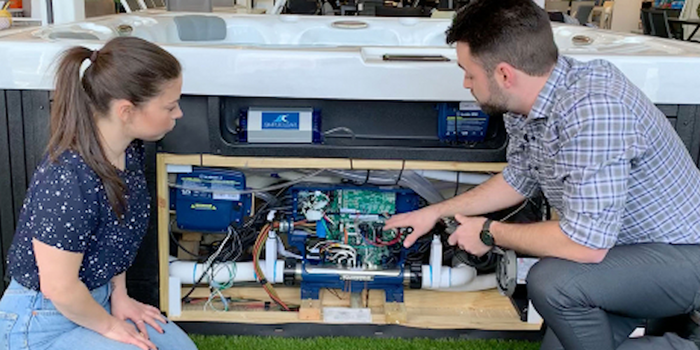
Identifying Parts
Before making a phone call, the fastest way to identify parts is to send photos of the Front, Back, Sides along with any Measurements.
Use the Contact Us form to upload from a Phone, Tablet or Computer.
-
![]()
Technical Support
For Technical Queries, please use the Contact Form. Please include as much information as possible.
We also have a range of manuals available.
Electrical & gas work must be performed by a licensed & experienced person.
-
![Heater and Spa Parts - Australia's Biggest & Fastest Shipper of Spa Parts & Pool Heaters]()
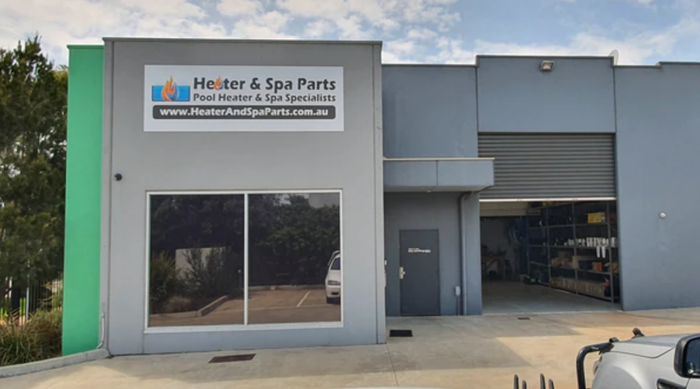
About Us
100% Australian Owned & Operated. A real, physical store, with shipping from Vic, NSW, Qld, & WA.
We carry more stock of spa parts & pool heaters and ship faster than anyone!
Ex-employees of the biggest manufacturers and distributors, so we know what we're talking about!